


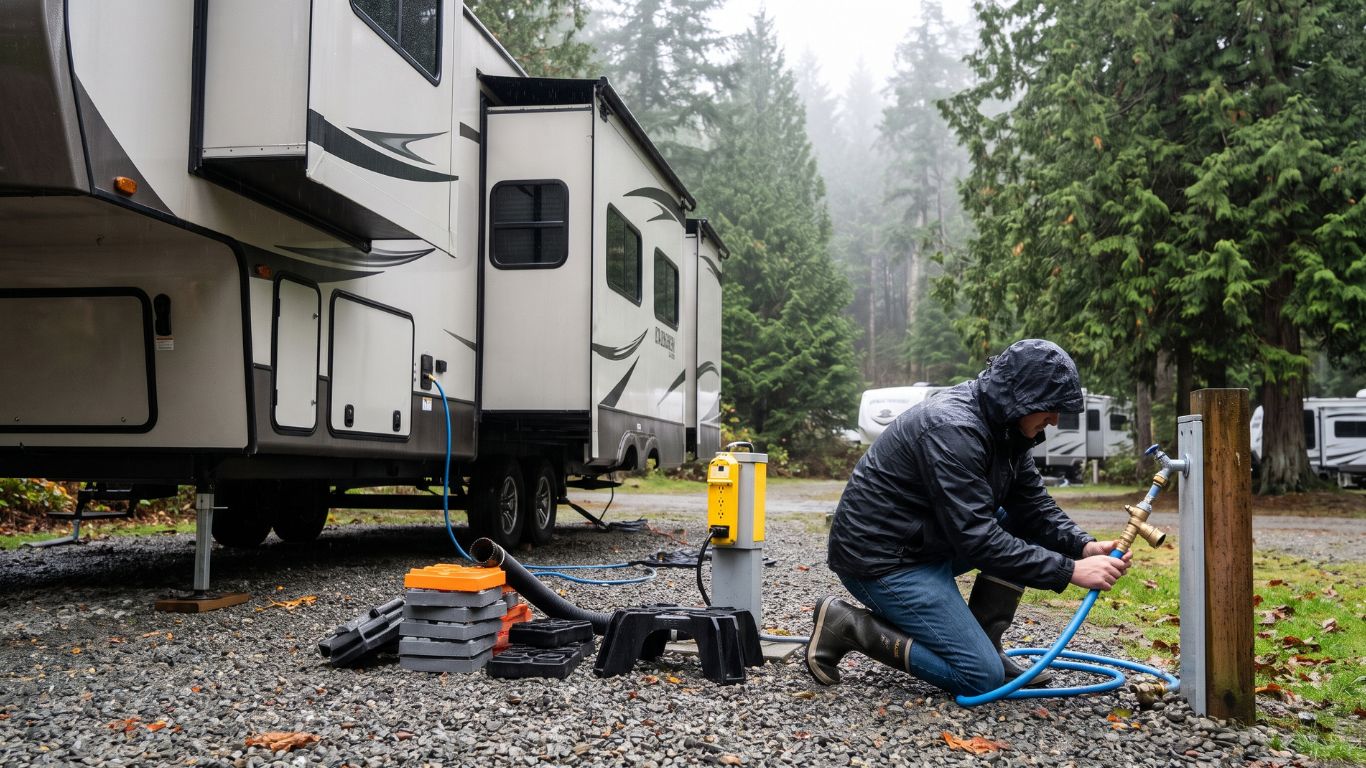
You signed the lease. You towed the rig down the highway, wrestled it into the pad, and now you’re standing in the drizzle holding a hose, wondering what comes next. Good news: the hard part is over. Better news: the first 30 days on a long-term RV pad run a lot more smoothly if you do things in the right order, and a little less smoothly if you, say, forget to buy a pressure regulator and discover your water pressure the exciting way.
This is the move-in checklist we wish every new resident had in their glovebox. It’s built for people staying months or years, not a weekend, so it spends more time on the boring-but-important stuff (hookups, skirting, address changes) than on s’mores. If you’re still shopping for a spot, the pads currently listed at Halfmoon Bay RV Resort are a click away, and the cards below show what’s open right now.
Resist the urge to back straight in and start plugging things in. Spend ten minutes on foot first. Walk the pad and look at where the power pedestal, water spigot and sewer connection sit relative to your rig’s own connections. Your rig’s door, awning and slide-outs all need clearance, and a trailer parked six inches too far forward means a sewer hose stretched tight like a bad tightrope act.
Check the ground, too. On the Coast, “firm” in September can turn into “soft” by November. Look for low spots where water will pool, and note which way the pad slopes. Take a few photos of the pedestal and connections as you found them. If anything looks damaged or off, tell the resort office on day one so it’s on record before you’ve touched anything.
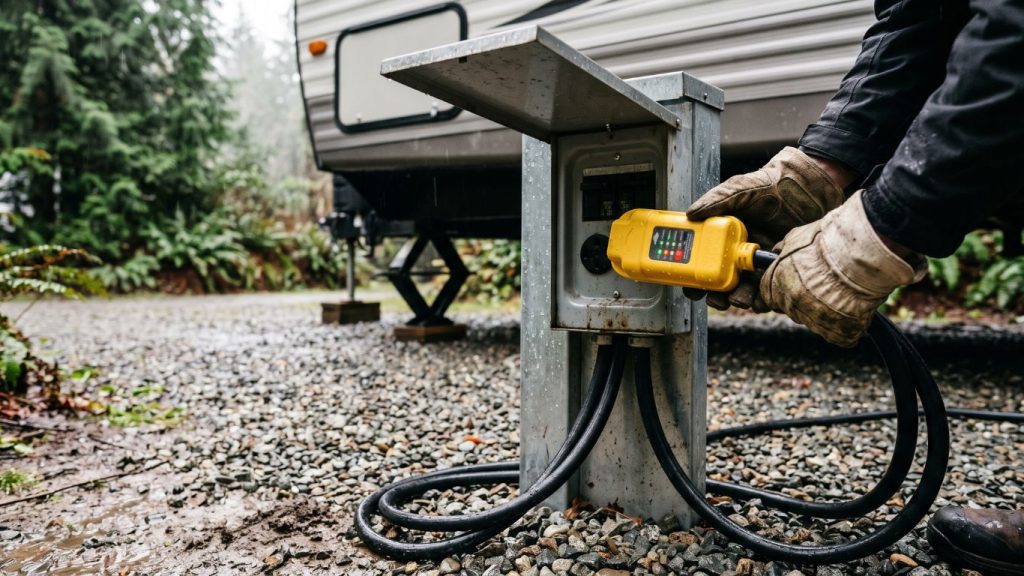
Start at the pedestal with the breaker off. Plug your shore power cord in, then switch the breaker on. A surge protector or electrical management system between the pedestal and your rig is cheap insurance; think of it as a seatbelt for your fridge, air conditioner and everything with a circuit board. It goes in before anything else.
Avoid the temptation to make a short cord reach with whatever’s lying in the shed. Technical Safety BC’s electrical fire write-up lists relying on extension cords as permanent wiring and connecting power bars together among the risky shortcuts, and says equipment should carry a certification mark from a Standards Council of Canada-accredited agency or a Technical Safety BC approval label. If your cord doesn’t reach, buy one that’s certified for use in Canada and sized for your rig.
Not sure whether your rig suits a 30, 50 or 100 amp pad? Our guide to 30 vs 50 vs 100 amp RV pads walks through it, including which appliances actually trip things when you run them together.
Campground and resort water pressure can run higher than your rig’s plumbing likes. A water pressure regulator is a small brass fitting that costs less than a decent coffee order and saves you from a split fitting behind a wall. Install it at the spigot, before your hose. Use a drinking-water-safe hose (the white or blue ones, not the green garden kind), and add an inline filter if you want to tidy up taste.
Connect your sewer hose with a proper fitting and a downward slope all the way to the pad’s connection, with no sags where liquids can sit. A hose support (those plastic zigzag cradles) is worth the twenty bucks. Keep your black tank valve closed until the tank is reasonably full, and flush on a regular schedule so solids don’t pile up. Residents who forget this one learn it exactly once.
Level side to side first, then front to back. Your fridge is the unforgiving one if you have an absorption model, and a bubble level on the frame is more honest than a phone app. Once you’re level, put down stabilizer jacks, and set blocks or pads under them. Soft Coastal soil under a jack is a slow-motion lean waiting to happen.

This is the week to prepare for the part of the year when the sky and the ground have an extended conversation. If you moved in during summer, you have a short window. If you moved in during fall, you’re already in the conversation.
Skirting keeps wind and cold off your water lines and holding tanks, and it keeps critters out from under the rig. Plan your skirting so it can be removed for access to hookups and wheels, and leave ventilation. If your water hose is exposed, a heated hose or heat tape with insulation is the usual answer for the few cold snaps a year. We cover the full cold-weather routine in our year-round winter setup guide, so treat this section as the short version.
Coastal living means damp is a permanent houseguest. A small dehumidifier, cracked roof vents and a habit of wiping down windows will protect your rig’s interior long before mould gets a vote. Check the seams on your roof and around windows now, while it’s dry enough to reseal them if needed.
Watch where water goes during the first heavy rain. If it runs toward your steps or under your skirting, fix it now, with a mat, some gravel or a quick conversation with the office about what’s allowed on a pad. Always ask before altering the pad itself. What counts as acceptable varies by park, and it’s much easier to get approval than forgiveness.
This is the part that feels dull until you miss a deadline. When your rig is your home, a handful of official bodies need to know where you live. We wrote a full breakdown in can you use an RV park as your home address in BC, covering ICBC, MSP, banking and mail, so here’s the quick checklist version:
Do this in one sitting, with a coffee, and tick things off as you go. It’s the least exciting afternoon you’ll have all month and the one that prevents the most headaches.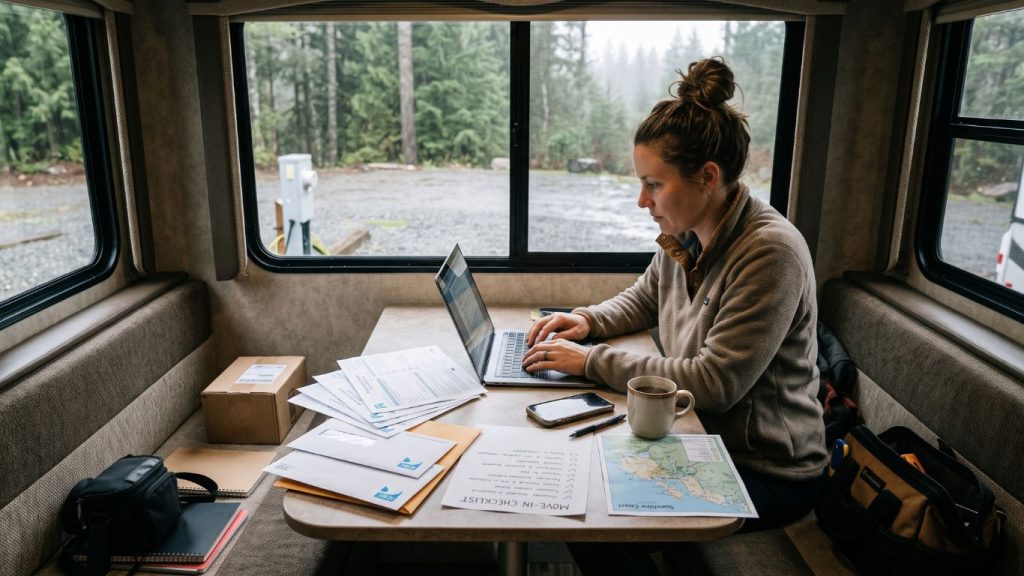
If you work from the rig, sort your internet before you need it for a video call. The resort lists Wi-Fi and cable TV, but how well any connection serves your setup depends on how you use it. If you stream, upload or work remotely, have a backup plan. Our internet for RV living on the Sunshine Coast guide compares the realistic options, so you aren’t discovering signal strength mid-meeting.
By week four, the rig should feel like home rather than a vehicle you happen to be sleeping in. The practical work is done. What’s left is the part that makes a long-term pad worth it.
A wave is a start. A “welcome, need anything?” over the fence is better. People who live year-round in a resort are the best source of knowledge on which pharmacy has a shorter lineup, who knows a good mechanic, and when the ferry actually behaves. They also notice when your hose is dripping.
Find the laundromat at an hour when it’s quiet. Try the 24-hour gym on a rainy afternoon. Figure out which trails and beach spots are nearby, and learn your grocery run. The resort sits about two minutes off the Sunshine Coast Highway, roughly 20 minutes from Sechelt and about 40 minutes from the Langdale ferry terminal, so a first full “town day” is worth planning. Check the BC Ferries schedules before you head to the mainland, because ferry lineups have a sense of humour you’ll appreciate eventually.
Around week three, most new residents realize the rig is smaller than their optimism. Ask about the storage rooms the resort lists, and about pad rules for outside storage like bikes, kayaks and firewood. A tidy pad is a happy pad, and a tidy pad makes for easy relationships with management.
A short list, ranked by how much grief it saves you:
After enough move-ins, a few patterns repeat. New residents skip the pressure regulator, plug into the wrong amperage, leave skirting until the first cold night, and put off the address changes until a bill goes missing. None of these are fatal. All of them are avoidable, and a checklist taped inside a cupboard door fixes about ninety percent of them.
The other pattern is waiting for the perfect weekend to do the setup. Do it in pieces. Power and water on day one, sewer and levelling the same day, skirting and moisture control in week two, paperwork in week three. By the end of the month you’re not “camping” anymore. You’re home.
Ready to start your own first 30 days? Check which pads are open on the Halfmoon Bay RV Resort properties page, hit Submit Request, or call the office at (604) 218-4757 and we’ll walk you through the lay of the land. Bring the surge protector. We’ll supply the evergreens.
 See map of resort